Stop paying for overpriced shared hosting. If you have followed my previous guide on deploying a Vultr High-Frequency server, you already have a machine that is 10x faster than traditional hosting.
Now, we need to install a control panel to manage your websites.
For 2026, I do not recommend cPanel (too expensive) or CyberPanel (too buggy). My stack of choice is CloudPanel. It is built on NGINX, it is lightweight, and it is free.
Here is how to turn your raw VPS into a WordPress powerhouse in 10 minutes.
Prerequisites
Before we start, ensure you have:
- A Fresh Vultr VPS: Ubuntu 22.04 LTS is the recommended OS. 👉[Click here to Claim $300 Free Credit on Vultr(Limited Time)]
- A Domain Name: You need a domain pointing to your server IP. 👉 [Get a Domain at NameSilo]
- SSH Access: We will use the terminal. 👉 [Review my SSH Security Guide]
Step 1: Install CloudPanel
Connect to your server via SSH (remember to use your secure user, not root, if you followed my security guide, then switch to root for installation):
Bash
ssh username@your_server_ip
sudo su -
Note: While Docker is powerful, I prefer CloudPanel for WordPress projects because it offers native NGINX performance without container overhead.
Now, run the CloudPanel installer. This script will automatically install NGINX, PHP, MySQL, and Redis:
Bash
# 1. Update system and install required tools
apt update && apt -y upgrade && apt -y install curl wget

# 2. Download the installer
curl -sS https://installer.cloudpanel.io/ce/v2/install.sh -o install.sh

# 3. Run the installer (We explicitly use MariaDB 10.11 for best performance)
sudo DB_ENGINE=MARIADB_10.11 bash install.sh
The installation takes about 2-3 minutes. Once finished, it will display your admin URL: https://your_server_ip:8443
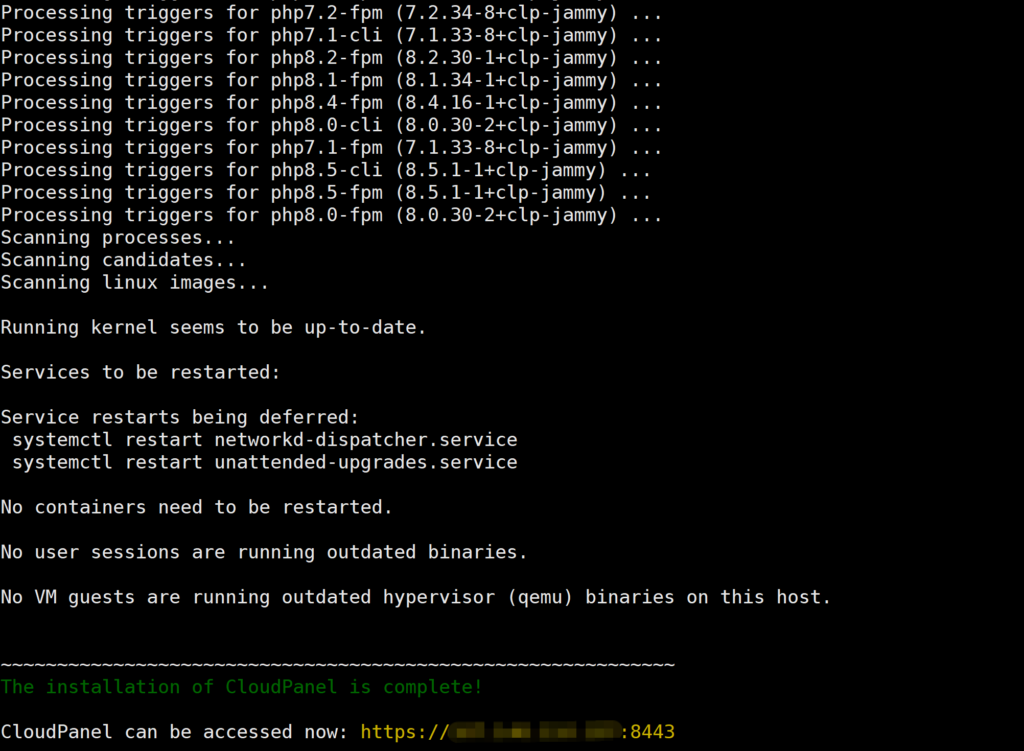
“Success! The green text confirms CloudPanel is installed. Make sure to copy your unique Admin URL.”
Step 2: Access the Dashboard
Open your browser and visit the URL provided (ignore the SSL warning for now, as we haven’t set up the domain yet). Create your admin user.
The interface is clean, fast, and bloat-free.
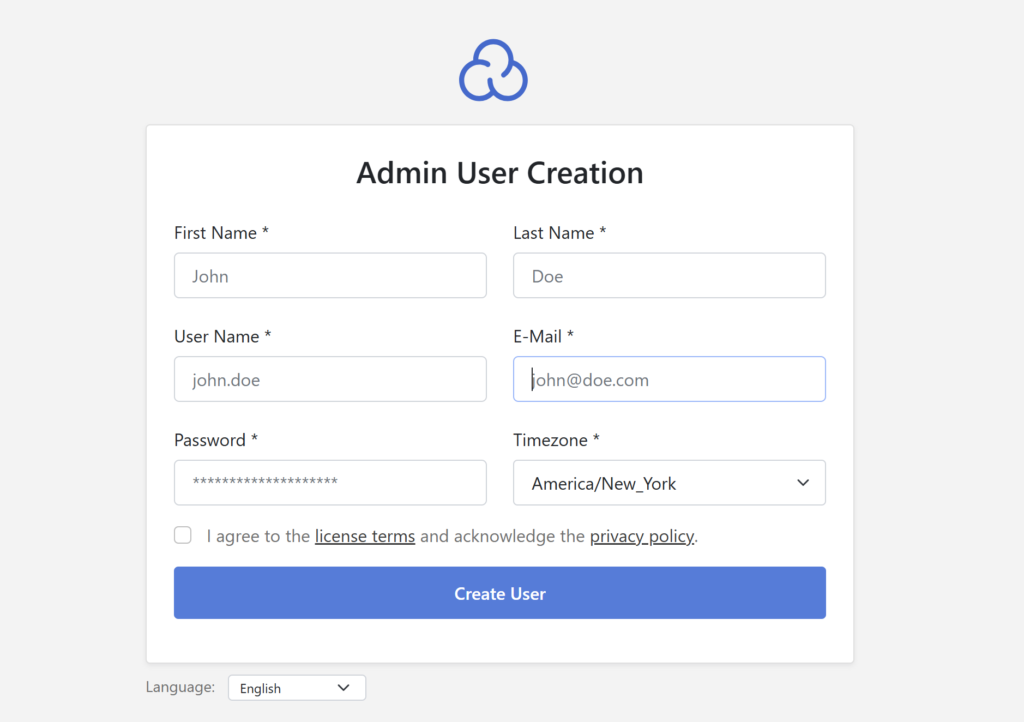
“Upon first access, you will be prompted to create your admin account. The interface is clean and modern.”
Step 3: Create a WordPress Site
- Click “+ Add Site” on the dashboard.
- Select “Create a WordPress Site”.
- Fill in your details:
- Domain Name:
yourdomain.com - Site User:
wp_user - Site Password: (Generate a strong one)
- Domain Name:
- Click Create.
CloudPanel will automatically configure the NGINX vhost, create the database, and install the latest WordPress core files.
Step 4: Point Your Domain (DNS)
Go to your domain registrar (e.g., NameSilo) and update your DNS records:
- Type: A Record
- Hostname: @
- Value: Your Vultr Server IP
- TTL: 3600 (or 300 for faster propagation)
Reference: See my detailed [DNS Setup Guide] for more info.
Step 5: Enable Free SSL (HTTPS)
Never run a site on HTTP. CloudPanel makes SSL easy via Let’s Encrypt.
- In CloudPanel, go to your Site Dashboard > SSL/TLS.
- Click Actions > New Let’s Encrypt Certificate.
- Click Create and Install.
Boom. Your site is now live, secured, and running on a high-performance NGINX stack.
Too Technical? Use the “Easy Mode”
If using SSH terminals and managing DNS records sounds too complicated for you right now, I recommend a managed solution.
Hostinger offers a “Managed WordPress” plan where everything I just showed you is done automatically with one click. It is slightly less flexible than a VPS, but much easier for beginners.
Disclosure: This is a referral link. I recommend Hostinger only for beginners who prefer managed environments.
👉 [Get Hostinger Managed WordPress (Up to 80% Off)]
Summary
For SysAdmins and developers, the Vultr + CloudPanel combo is unbeatable. You get raw power, full control, and zero bloat.
But whether you choose to build it yourself or use automation, choose the path that matches your skill level—but always stay in control of your infrastructure.