You just deployed a new high-frequency server on Vultr. It’s fast, it’s powerful, and it’s currently completely naked on the internet.
Within minutes of a server going live, bots will start scanning its IP address looking for open ports and weak passwords.
As a System Administrator, I follow a strict “First 15 Minutes” protocol for every new server I spin up. I never log in directly from my home IP, and I never leave the Root account active.
Here is my exact workflow to secure a fresh Ubuntu or Debian VPS immediately after deployment.
Step 1: Mask Your Origin IP (Crucial OpSec)
Most tutorials skip this, but it is critical for privacy and operational security (OpSec).
When you SSH into your server, your home ISP address is permanently logged in the server’s /var/log/auth.log. If your server is ever compromised, or if you are managing sensitive client data, you do not want your physical location tied to that machine.
My Solution: Before I even open my terminal, I connect to NordVPN.
I specifically use their Obfuscated Servers. These servers mask your VPN traffic to look like regular HTTPS traffic, which is perfect for bypassing strict firewalls or when working from restrictive networks (like hotels or cafes).
👉 [Limited Time: Get 70% Off NordVPN + 3 Months Free]
Note: It costs less than a cup of coffee per month. That is a small price to pay to keep your home IP out of server logs.
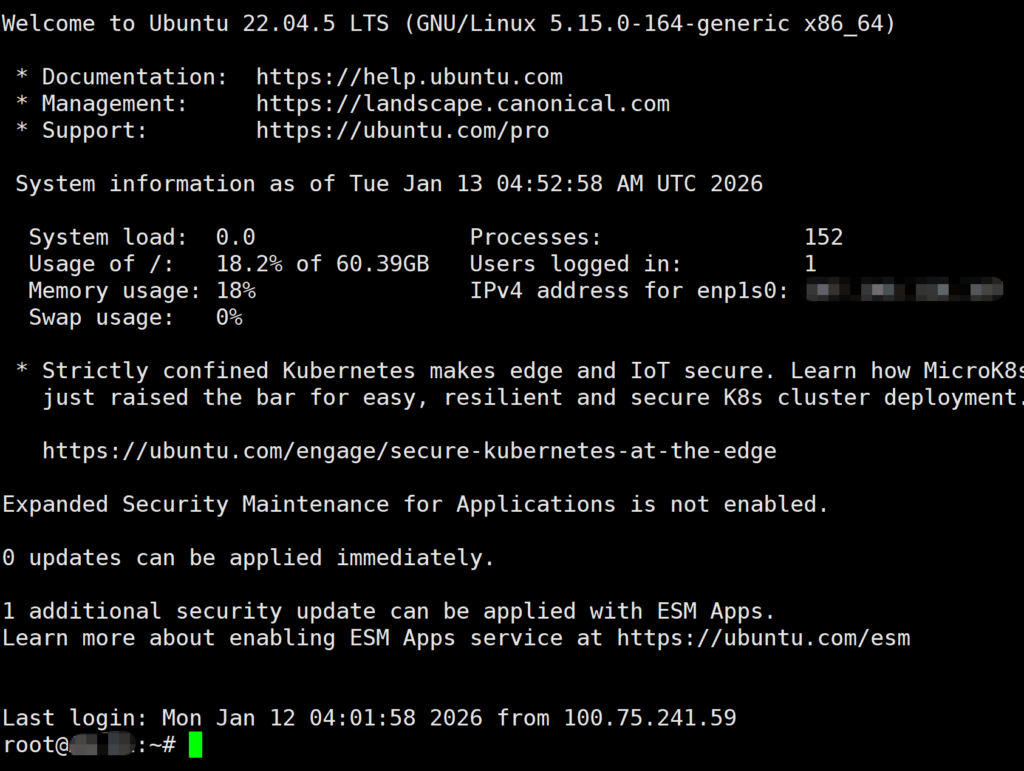
Step 2: Login as Root
Once your connection is secured (and your IP is hidden), log in to your server using the credentials provided by Vultr.
Bash
ssh root@your_server_ip
Step 3: Create a New User (Stop Using Root!)
Running everything as root is a recipe for disaster. One wrong command can wipe your entire server. We need to create a regular user with sudo privileges.
Replace username with your desired name (e.g., admin or your name):
Bash
adduser allen
Follow the prompts to set a password. Then, grant this user administrative rights:
Bash
usermod -aG sudo allen
Now, disconnect and log back in as your new user to test it.
Step 4: Disable Root Login & Change SSH Port
Now we lock the door. We are going to edit the SSH configuration file to ban root logins and change the default port from 22 to something else (like 2222) to stop script kiddies.
Open the config file:
Bash
sudo nano /etc/ssh/sshd_config
Find and change these lines:
- PermitRootLogin: Change to
no - Port: Change
22to2222(or any custom number between 1024-65535)
Save and exit (Ctrl+O, Enter, Ctrl+X).
⚠️ Important Safety Tip: Before you close your current terminal window, restart the SSH service and try to login from a new terminal window first. This ensures you haven’t locked yourself out.
Bash
sudo service ssh restart
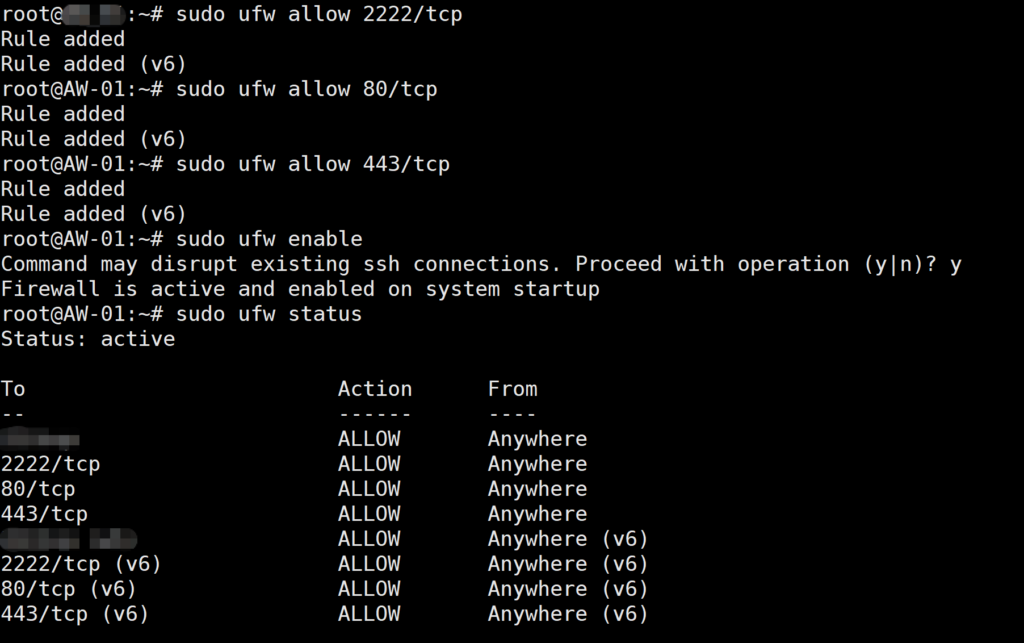
Step 5: Enable the Firewall (UFW)
Ubuntu comes with a great firewall called UFW (Uncomplicated Firewall), but it is usually turned off by default.
Warning: Before you enable it, make sure you allow your new SSH port, otherwise you will lose access!
Bash
# Allow your custom SSH port
sudo ufw allow 2222/tcp

# Allow HTTP and HTTPS (for your website)
sudo ufw allow 80/tcp
sudo ufw allow 443/tcp

# Enable the firewall
sudo ufw enable
Summary
Your server is now:
- Hidden: Your home IP isn’t in the logs (thanks to NordVPN).
- Hardened: Root login is disabled.
- Gated: Only specific ports are open.
This entire process takes less than 10 minutes but saves you from 99% of automated attacks.